Hi guys!...okay probably mostly gals here on this blog =)
I just saw a cool idea! ---
I'm following this girl's blog. She's a youtuber and she made her own lightbox set up for product photography. She also gave a site where she got the ideas and tutorial from.
I think I'm going to try it!
I feel bad I haven't updated this blog in a few weeks. I'm back home and have been doing a lot of shopping! Mostly clothes and some nail polish and a few hair stuff and other miscellaneous stuff =D..so actually I do have a lot of stuff I could blog about!
But first when I get back I want to try to set up a lightbox so I could post good pictures on products I"ll be talking about here!
Laterz! Promise!
Saturday, December 18, 2010
Sunday, November 28, 2010
Clean Brushes
Thanks Michelle Phan!! Michelle Phan is a really famous guru youtuber and she has a really good tutorial on how to clean make up brushes. You can watch the video in the post below this post. I basically followed everything she suggested with a few of my own "steps" in between..=).
* If you do not have brush guards just dry them with tissue paper and lay them on their side but laying the top of the handles on something like a book or towel so water won't get into the funnel area which can ruin the brush.
 |
| 1. I used EVOO (extra virgin olive oil) and baby shampoo. Even though in youtube she uses anti-bacterial dishwashing soap. I don't mind if it's not anti=bacterial. I pumped like 15 pumps out of the baby soap and then around 2/3rds of EVOO. |
 |
| My brushes all ready to be cleaned! |
 |
| This is not the natural color of my brushes...they're super dirty here =) |
 |
| 2. So just like Michelle Phan did: I swirled my brushes with the EVOO and baby shampoo and then brushed it on my hand. |
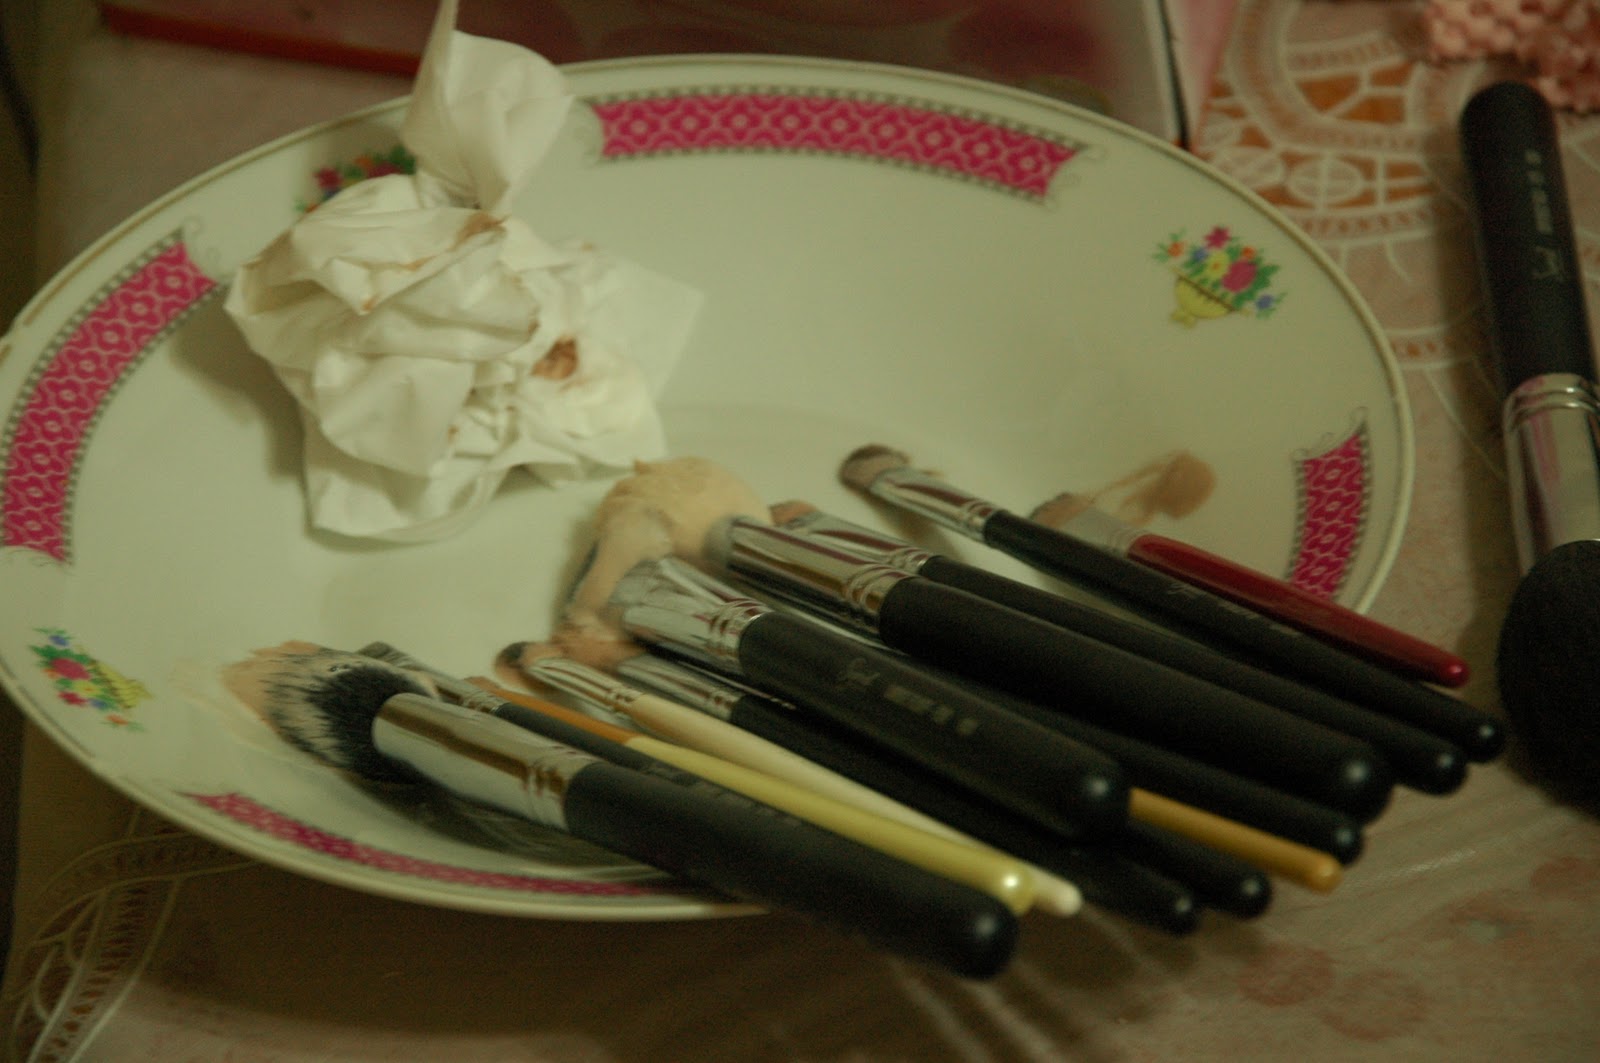 |
| 3. Then after swirling and brush withs soap on the plate and hand I left them in this plate. A plate where the brushes can be slanted downwards so the liquid does go down the funnel and spoil the brush. |
 |
| See the brushes compared to the 3rd picture?! This is what they're supposed to really look like. |
 |
| 4-5-6. Go to the sink and wash the brushes careful to only wash the bottom area and not let the whole brush be soaking wet. Dry them as much as I can with some paper towel. Put them in my home-made brush guard (I did a post on this previously). And lean it agains the wall to dry up. |
 |
| 7. Once the brushes are not "soaking" wet and almost dry I take them out of their brush guard to "breathe" and fully dry. I put my plate upside down so that the brushes are slanted downwards to prevent any liquid from getting deep into the brushes. |
Friday, November 26, 2010
Ipanema Slippers/Sandals/Thongs(?)
 |
| Purple!! |
 |
| Silver! |
Tuesday, November 16, 2010
Looks Easy Nails!
I came across this youtuber who does really pretty nails and her techniques looks so simple! I can't wait to try some of her ideas out. Maybe you can try it out for yourself first? =D
The next 3 posts are on the videos I came across...I tried to embed it into one post it still doesn't work =(
The next 3 posts are on the videos I came across...I tried to embed it into one post it still doesn't work =(
Makeup Face Routine
Just want to share with you on what I apply on my face before apply eye, cheek and lip make up. Basically my focus is to cover my spots and try to make it last long as I have ridiculous oily face.
So here's a before and after picture and the products I used with a little explanation:
I don't really wanna show such a large close up picture of my face but...what to do? hehehe

So here's a before and after picture and the products I used with a little explanation:
I don't really wanna show such a large close up picture of my face but...what to do? hehehe
 |
| Before |
 |
| After...then I put my eye, cheek and lip make up this is just the "foundation" |

Products used (from left to right and in this order on my face):
- Sephora's Make up primer - helps mattify areas that become oily and to keep make up together longer. I apply this all over my face.
- BB Cream - from Nature Republic (Korean Brand). It's in between a foundation and a tinted moisturiser. It supposedly help acne prone skin and reduces redness. I apply this all over my face.
- ZA's concealer (#2) - I apply this on my spots and scars, under eye area, etc. It is of a liquid consistency
- Revlon's Mineral Foundation - My dermatologist told me to avoid using liquid products on my face so I use loose powder foundation as thick foundation makes me break out. I apply this with my Kabuki brush all over my face. It also helps to set my concealer.
- Make Up Forever Concealer Pallette - I use this to cover whatever spot are still visible.
- Garnier's Light Face powder - This is new to me I used to use Oriental Princess's loose powder. I apply this with my face brush to set the rest of the make up. This powder is pretty good but I'm still searching for a better one. At least it doesn't make me break out.
This is just the latest way I "do" my face. Before this I only used any concealer on hand (Face Shop's one is good), Revlon's Mineral Foundation and Oriental Princess Loose Powder. This face routine lasts much longer and has better coverage for me though...still trying to improve and will share when I find anything better.
Of course I also put moisturizer and sunblock before anything.
French Nails & Etc
Bought a set of base coat, rose colored, white and top coat nail polish to make French Nails. I bought it for a few dollars in some cheap-o beauty store hehe....Turned out pretty good though!...Dunno if you can see =)


The 2 pen like ones are a corrector pen (the bigger,rounder one) and a white nail pen.
The corrector pen helps to "erase" nail polish that was accidentally painted outside of your nails.
The white nail pen looks like a lip/eye liner and you just dip it into lukewarm water and color the underside of the tips of your nails for a whiter cleaner look.


The corrector pen helps to "erase" nail polish that was accidentally painted outside of your nails.
The white nail pen looks like a lip/eye liner and you just dip it into lukewarm water and color the underside of the tips of your nails for a whiter cleaner look.
Subscribe to:
Posts (Atom)