I'm back! After almost half a year! o_0
I'm revamping the looks as the background of the first one kinda messed up.
I still have so much I want to share with you all...can't wait!
Wednesday, April 27, 2011
Hiii! & Hair ;)
I know. I have totally neglected this blog.
My dearest sis/cuzin Ellen Joy just fb walled me to update my blogs! I needed that reminder and it was just on the day that I discovered an additional destresser for myself!
Hair!....Having an older sister who always did my hair I never knew how to do my own hair...but now I'm forced to try it on my own and I'm so happy that I can actually do something about my hair!
After 24 years I actually know how to french braid!
Anyways, yesterday while chatting with my sister she showed me some videos on youtube about braiding and stuff. So I browsed through other videos and started playing around with my hair and I actually learnt a thing or two that I could use on myself and would like to share it with you!
First and foremost...if I can do it you can! (SERIOUSLY- I was/am a handicapped and doing my own hair)
Here are a few pictures
(I go to work without make up on so yeah...bare faced! haha) While waiting on my kids I practiced on my hair =)
My favorite and the one I'm most proud of is the fishbraid. It looks nice and easy to do! I'm going to attempt doing my first french braid on my own from top to bottom and see how it turns out ;)
Hopefully I'll have more to show you as I practice and put to test what I've been watching. There is so much and it's not as difficult as I thought it would be =)
My dearest sis/cuzin Ellen Joy just fb walled me to update my blogs! I needed that reminder and it was just on the day that I discovered an additional destresser for myself!
Hair!....Having an older sister who always did my hair I never knew how to do my own hair...but now I'm forced to try it on my own and I'm so happy that I can actually do something about my hair!
After 24 years I actually know how to french braid!
Anyways, yesterday while chatting with my sister she showed me some videos on youtube about braiding and stuff. So I browsed through other videos and started playing around with my hair and I actually learnt a thing or two that I could use on myself and would like to share it with you!
First and foremost...if I can do it you can! (SERIOUSLY- I was/am a handicapped and doing my own hair)
Here are a few pictures
(I go to work without make up on so yeah...bare faced! haha) While waiting on my kids I practiced on my hair =)
 |
| This is the fishtail braid. |
 |
| Fishtail braid close up. It took me a few times to finally get it to look pretty decent. It does take practice and it's fun and suprisingly easy. |
 |
| I tried to do what bubzbeauty someone I subscribed to on youtube was doing. She has other cute hair tutorials too. |
 |
| This is my attempt on making a side braid. Just type in "side braid" on youtube and there are so many tutorials and techniques that can be learnt. I'm still practicing this it look easy to do but it's not..:( Hopefully I can give a better picture one day! |
 |
| This is a rope braid I got this from lilithedarkmoon another on I subscribe to. She has so many awesome hair ideas and she explains it really well. |
 |
| Sorry this is not clear but after making the rope braid she also shows us how to make it into a formal up-do. |
My favorite and the one I'm most proud of is the fishbraid. It looks nice and easy to do! I'm going to attempt doing my first french braid on my own from top to bottom and see how it turns out ;)
Hopefully I'll have more to show you as I practice and put to test what I've been watching. There is so much and it's not as difficult as I thought it would be =)
Saturday, December 18, 2010
Hmmmm...Lightbulb!
Hi guys!...okay probably mostly gals here on this blog =)
I just saw a cool idea! ---
I'm following this girl's blog. She's a youtuber and she made her own lightbox set up for product photography. She also gave a site where she got the ideas and tutorial from.
I think I'm going to try it!
I feel bad I haven't updated this blog in a few weeks. I'm back home and have been doing a lot of shopping! Mostly clothes and some nail polish and a few hair stuff and other miscellaneous stuff =D..so actually I do have a lot of stuff I could blog about!
But first when I get back I want to try to set up a lightbox so I could post good pictures on products I"ll be talking about here!
Laterz! Promise!
Sunday, November 28, 2010
Clean Brushes
Thanks Michelle Phan!! Michelle Phan is a really famous guru youtuber and she has a really good tutorial on how to clean make up brushes. You can watch the video in the post below this post. I basically followed everything she suggested with a few of my own "steps" in between..=).
* If you do not have brush guards just dry them with tissue paper and lay them on their side but laying the top of the handles on something like a book or towel so water won't get into the funnel area which can ruin the brush.
 |
| 1. I used EVOO (extra virgin olive oil) and baby shampoo. Even though in youtube she uses anti-bacterial dishwashing soap. I don't mind if it's not anti=bacterial. I pumped like 15 pumps out of the baby soap and then around 2/3rds of EVOO. |
 |
| My brushes all ready to be cleaned! |
 |
| This is not the natural color of my brushes...they're super dirty here =) |
 |
| 2. So just like Michelle Phan did: I swirled my brushes with the EVOO and baby shampoo and then brushed it on my hand. |
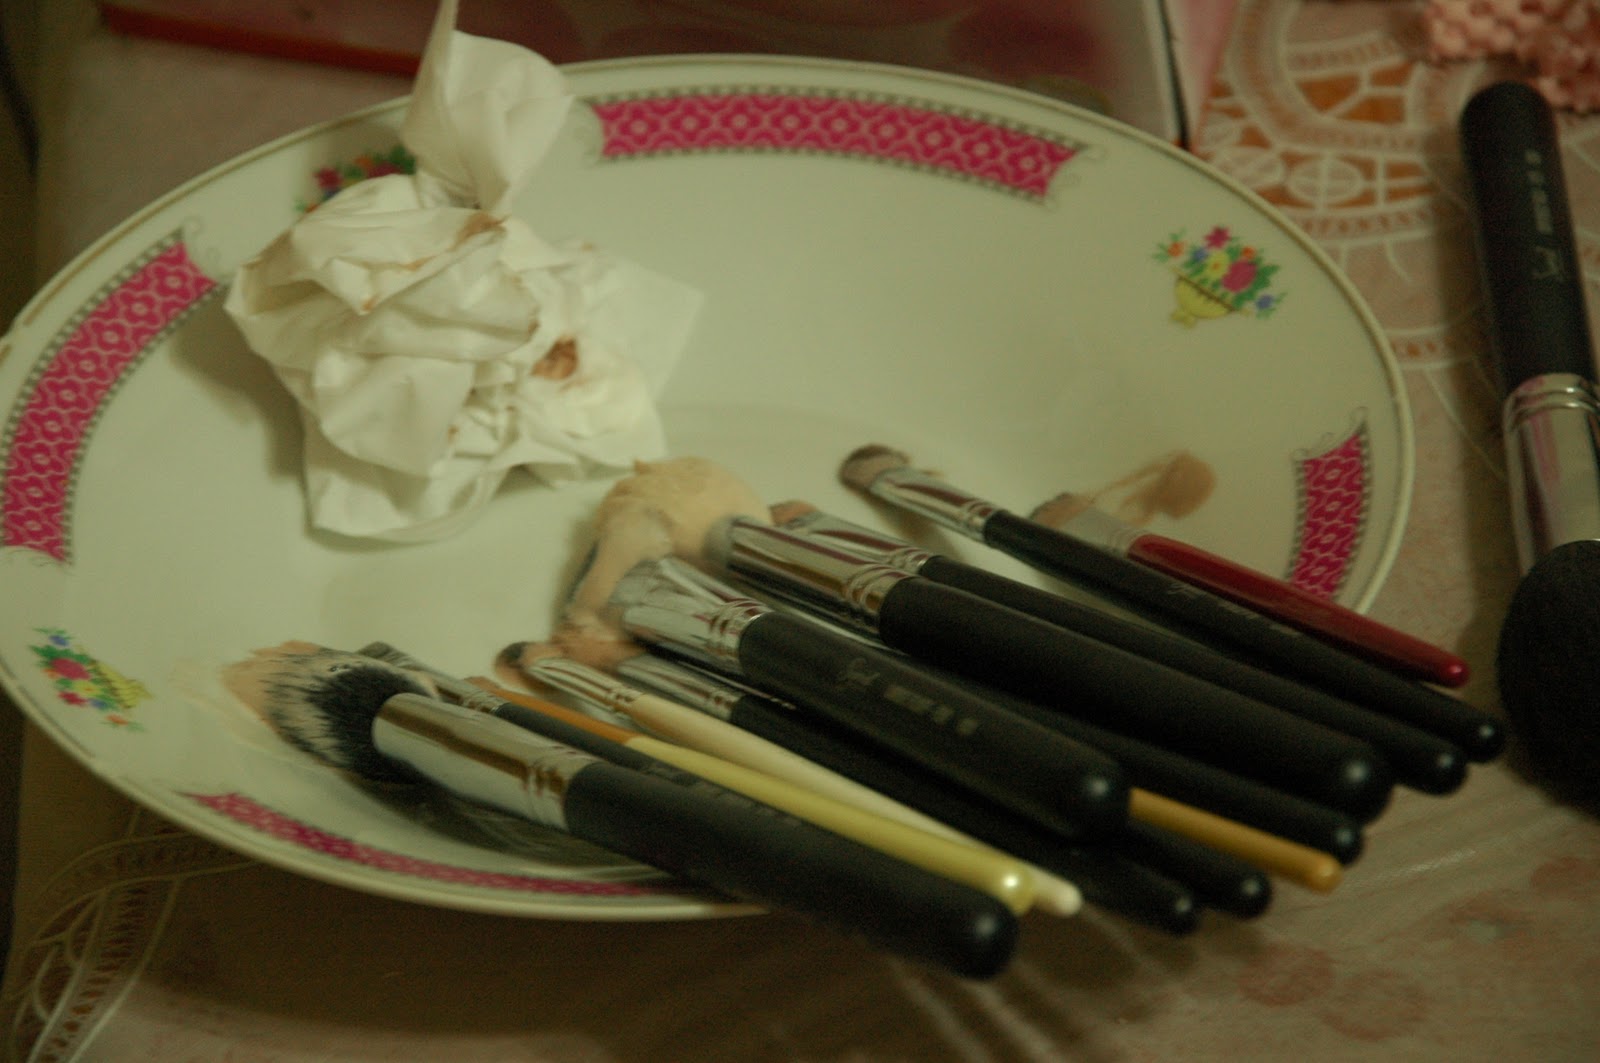 |
| 3. Then after swirling and brush withs soap on the plate and hand I left them in this plate. A plate where the brushes can be slanted downwards so the liquid does go down the funnel and spoil the brush. |
 |
| See the brushes compared to the 3rd picture?! This is what they're supposed to really look like. |
 |
| 4-5-6. Go to the sink and wash the brushes careful to only wash the bottom area and not let the whole brush be soaking wet. Dry them as much as I can with some paper towel. Put them in my home-made brush guard (I did a post on this previously). And lean it agains the wall to dry up. |
 |
| 7. Once the brushes are not "soaking" wet and almost dry I take them out of their brush guard to "breathe" and fully dry. I put my plate upside down so that the brushes are slanted downwards to prevent any liquid from getting deep into the brushes. |
Friday, November 26, 2010
Ipanema Slippers/Sandals/Thongs(?)
 |
| Purple!! |
 |
| Silver! |
Tuesday, November 16, 2010
Looks Easy Nails!
I came across this youtuber who does really pretty nails and her techniques looks so simple! I can't wait to try some of her ideas out. Maybe you can try it out for yourself first? =D
The next 3 posts are on the videos I came across...I tried to embed it into one post it still doesn't work =(
The next 3 posts are on the videos I came across...I tried to embed it into one post it still doesn't work =(
Subscribe to:
Posts (Atom)